Gathering the photo to stitch
Apparently you can print digital images onto plain, thin fabric using your home printer. You just tape or glue a piece of printer paper underneath so it feeds properly, and you make sure your piece of cloth is 8.5 by 11 inches. Select a “thick paper” setting, and your fabric will feed through. I destroyed our old laser printer, getting it thoroughly jammed before (by not following the instructions), so I’m not going to try this any time too soon. But I love the idea. There are other products you can buy, like fabric you can print onto. While less cost effective, its also less risky.
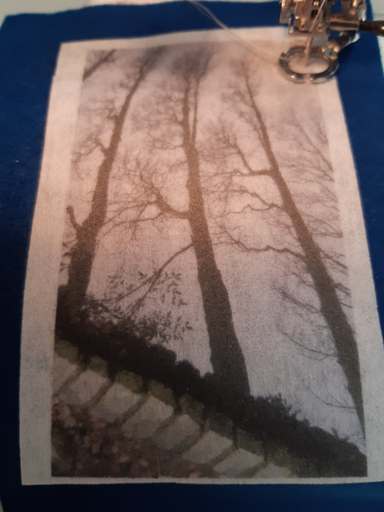
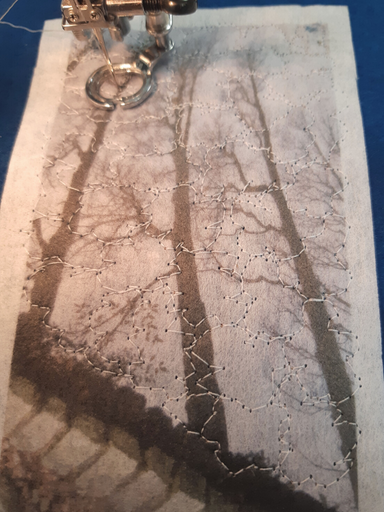
In any matter, the instructor for my free motion stitching class brought in photos that had been printed straight onto fabric for us to use. I picked one out, laid it on top of a piece of felt for backing and then started to free motion stitch over the design. Here is a the (slightly blurry) photo before I did much stitching.
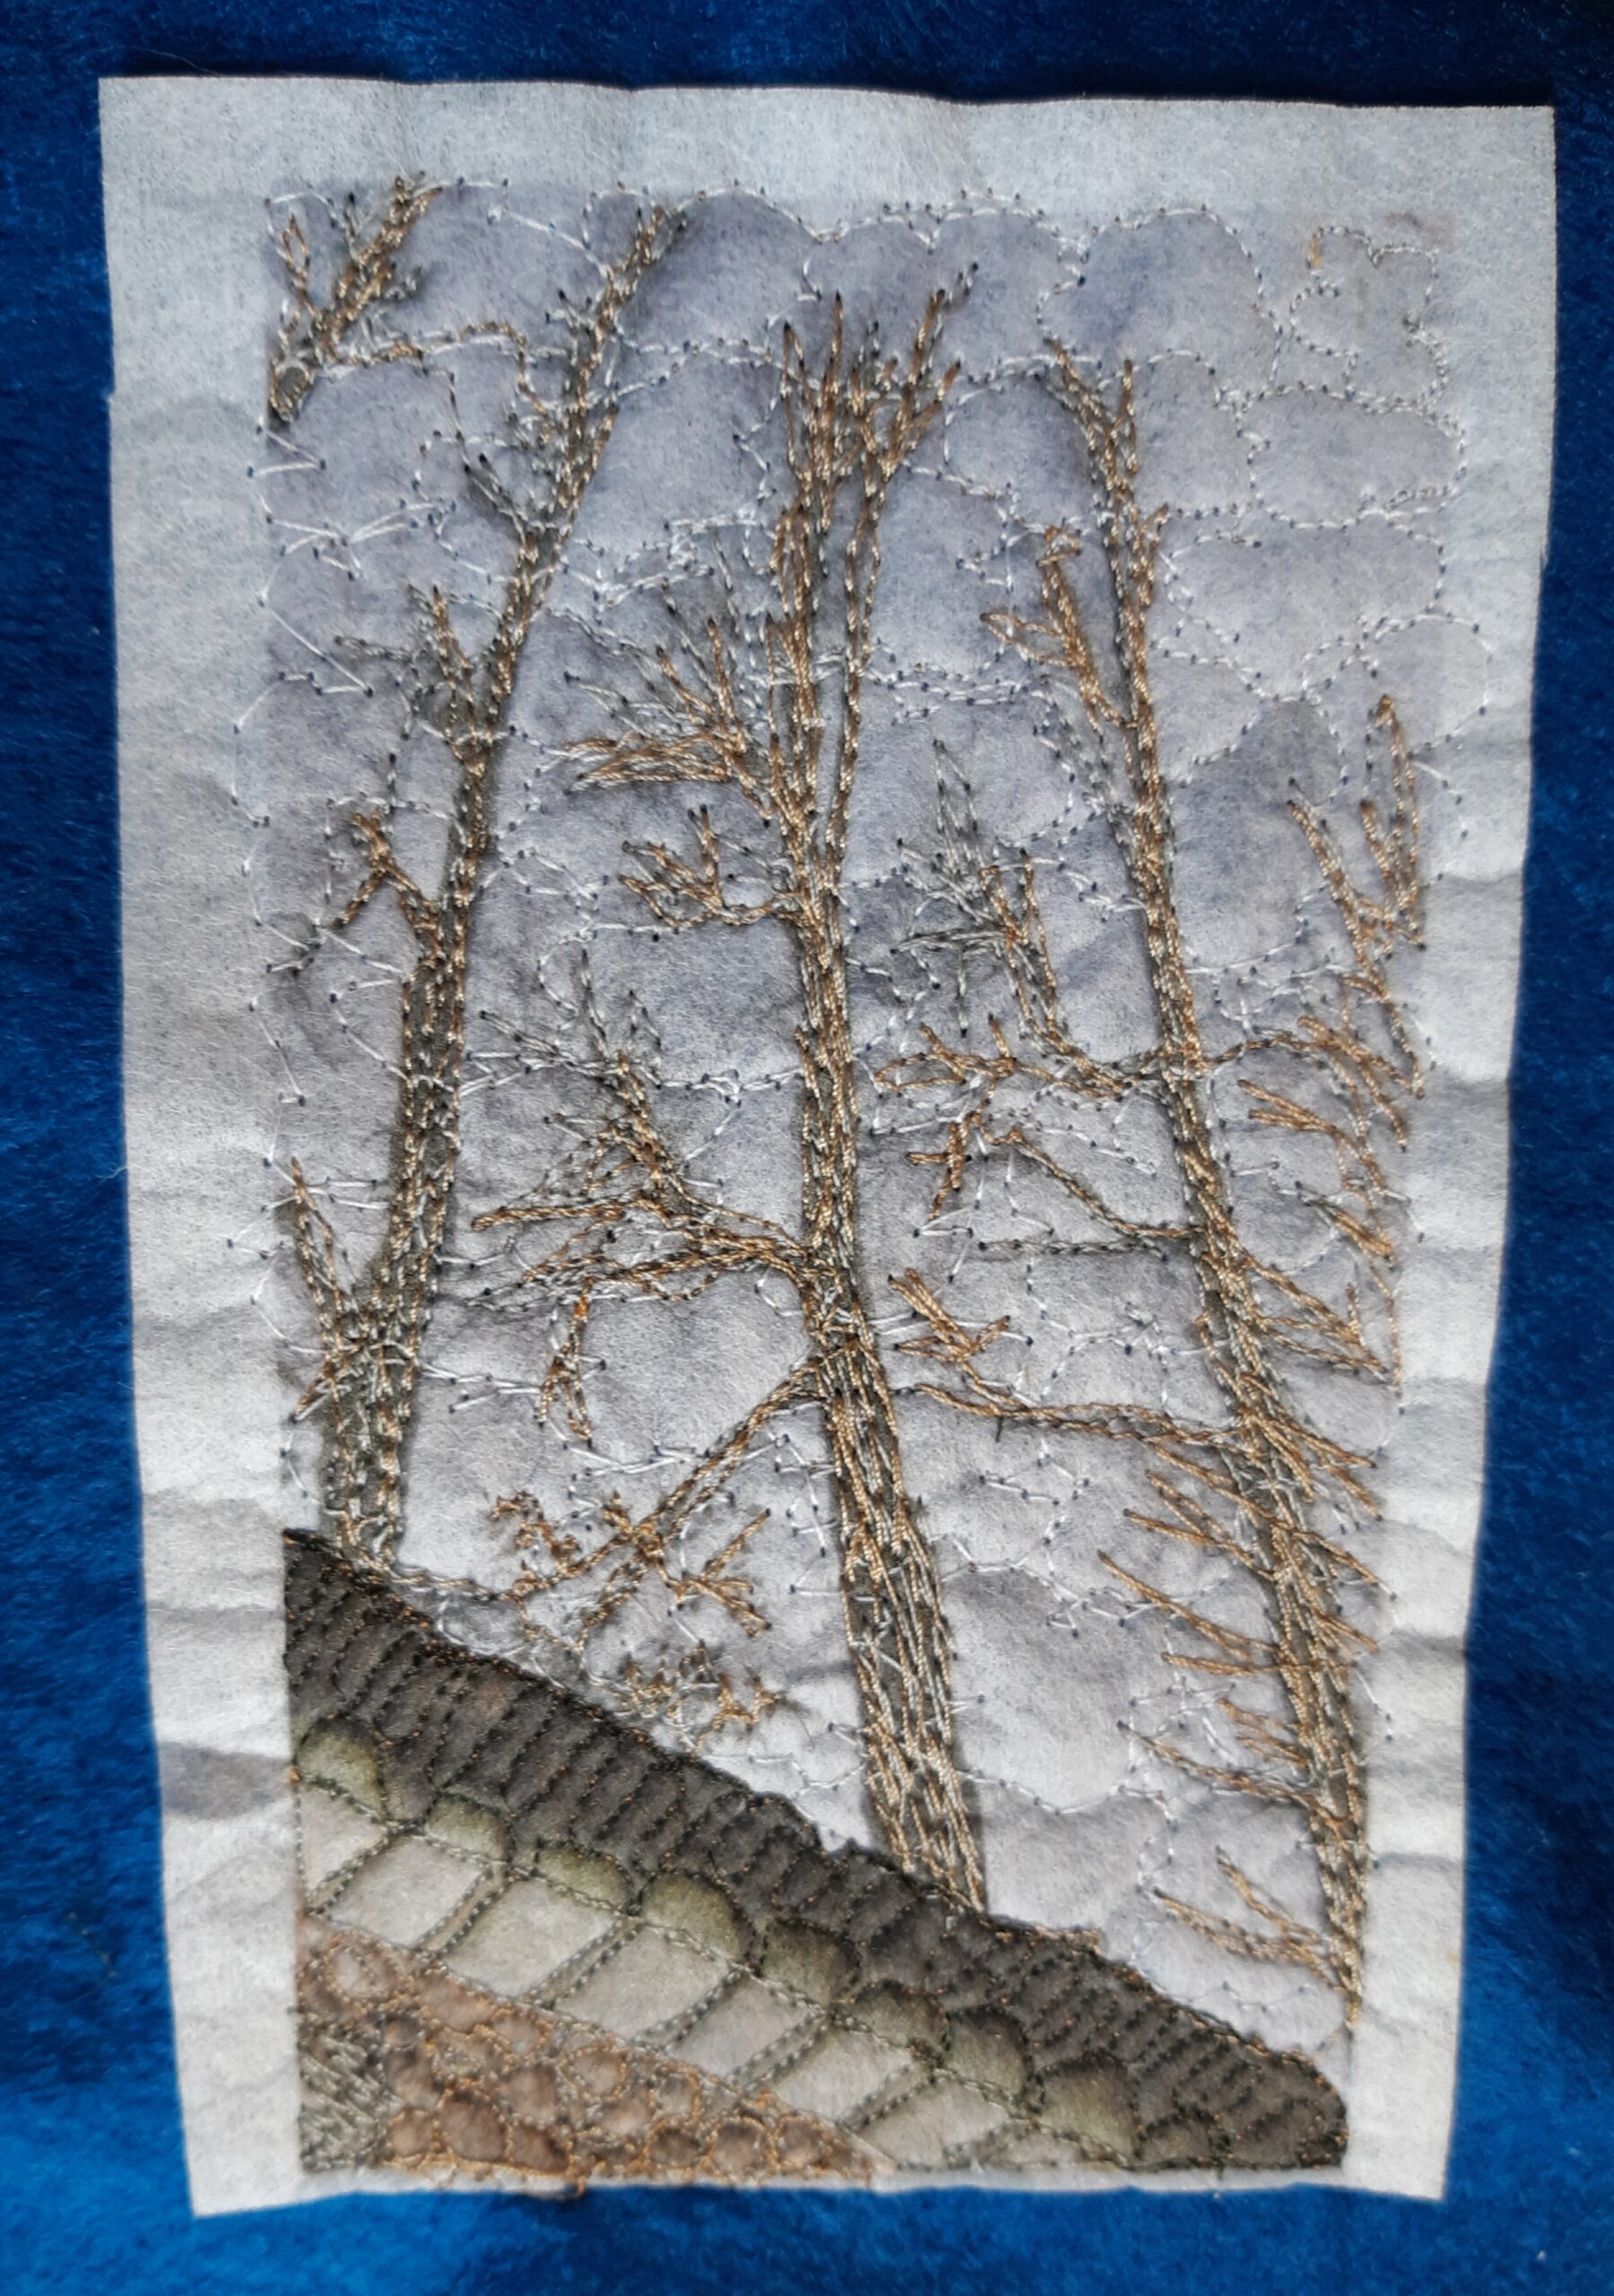
Stitch the Pitch
I started free motion stitching the background first using white thread and making little cloud-like designs. I stitched across the trees, but didn’t stich the walkway portion on the bottom of the picture.
After finishing the white clouds, I changed my thread to a light gray and stitched vertical lines on the tree trunks and branches.
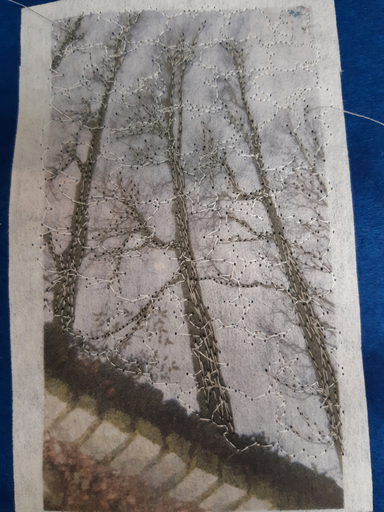
I continued to use light gray thread to outline the brick pathway, and to stich circles around the stones. Then I moved on to a copper color thread and stitched over the trees again as well as the stones and leaves on the path.

Lastly, I took the closest matching thread I had, which was a very dark green, and stitched the dark wood. I outlined the wood and did a back and forth squiggle to add texture. And here you have it! I don’t yet have a plan for the finished work, but when I do, I’ll be sure to add it to the blog.