Have you ever needed to rebind your own book? I had an old but much loved Bible that had lost its cover a long time ago. I had thought of getting it rebound, but I never got around to figuring out who could do it for me. Then I got an idea, I got a wonderful awful idea! It wasn’t that awful actually. I decided to rebind the Bible myself.
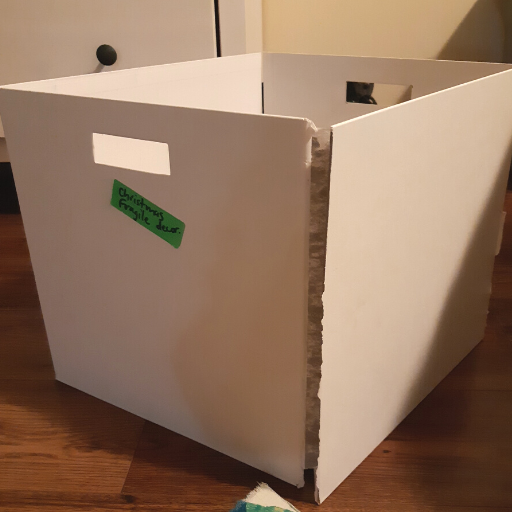
I did a little bit of searching and discovered that I could use cardboard and fabric to rebind my book. I had a broken down cardboard box from IKEA, so I harvested it for some cardboard pieces.
Cutting the pieces
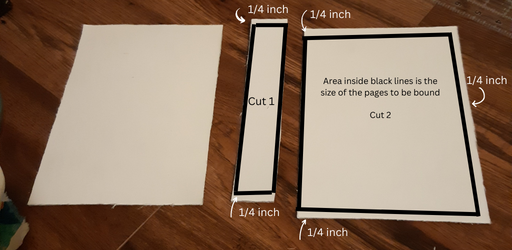
First I measured my book pages. I wanted my book cover to overhang the edges of my book when closed, so I added 1/4 inch to the top, bottom and one long edge. I cut the front and back pieces of cardboard according to this new measurement.
For the spine, I cut a piece of cardboard that was the length of the front and back cover and the exact width of the pages.
Cutting the fabric
I cut the fabric for the front and back pieces to be 3/4 inch larger than the cardboard pieces on ALL sides.
For the spine, I cut the fabric to be 3/4 inches larger on top and bottom and about 3 inches wider on both long edges. This is to allow for overlap when gluing it all together.
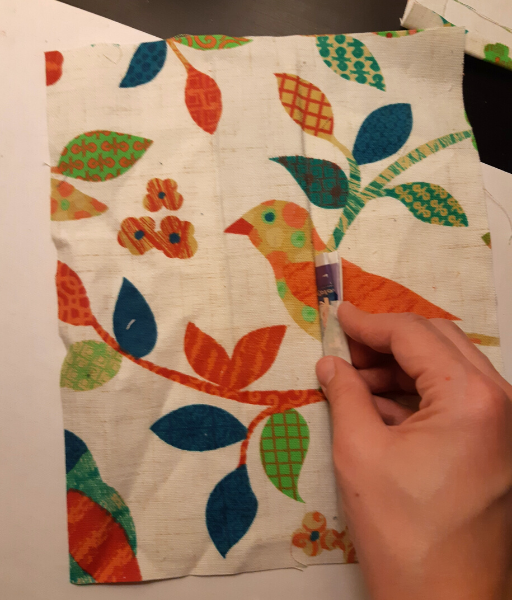
Gluing the fabric to the cardboard
I used regular school glue, and glued the cardboard spine to the center of the fabric spine. I glued down the top and bottom edges and used a piece of folded cardboard to press the edge of the spine into place.
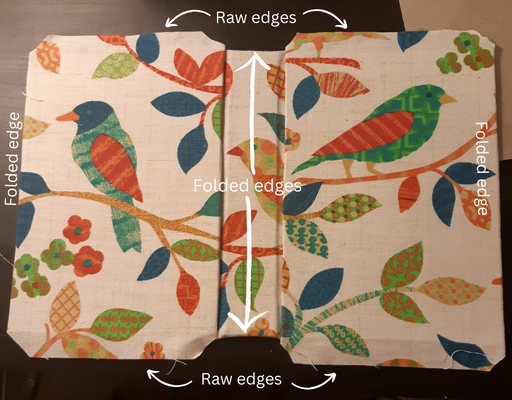
I glued the fabric to the front and back cardboard pieces. I centered the cardboard and glued down the long edges. Then I trimmed the corners.
Then I assembled the pieces by laying down the spine and then gluing the front and back covers to it. This is why I added about 3 inches of fabric to the sides of the spine. I wanted lots of overlap here so there would be lots of contact with the front and back covers.
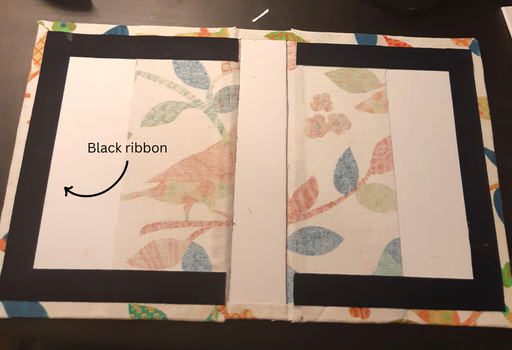
Once this was dry, I flipped it over and glued down those leftover raw edges. When I did this, I was disappointed, as I saw that the fabric I had cut, wasn’t large enough to fully cover the inside edge the way I wanted it too. I didn’t want a gap where the white cardboard could be seen.
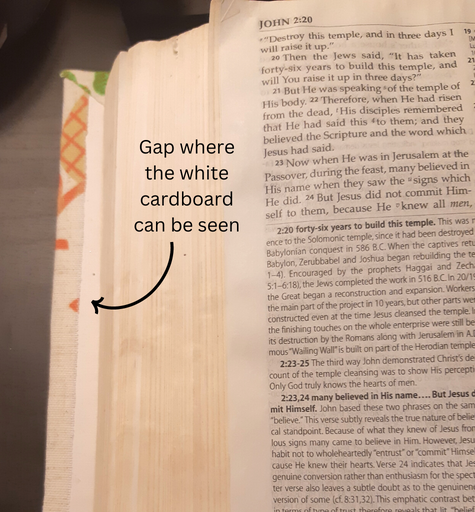
To fix this, I glued down strips of a thick black ribbon.
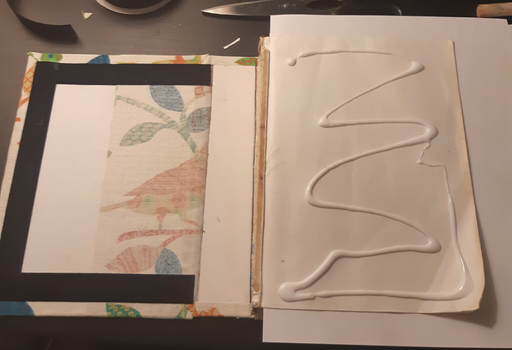
Next thing was to glue the pages to the cover. In order to protect the rest of the Bible from getting accidentally glued together, I placed a piece o paper underneath the first page. Then I put glue on the first page (I spread the glue out using a paintbrush) and closed the cover of the book to glue it to the pages.
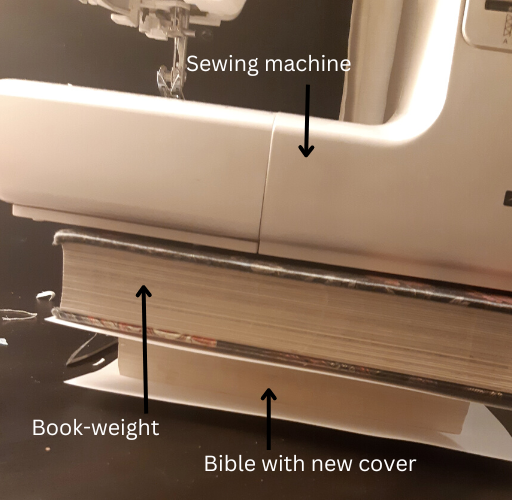
After I glued both front and back covers in this way, I placed a heavy book on top. I wanted something a bit heavier though, so I put my sewing machine on top of both the book-weight and the Bible.
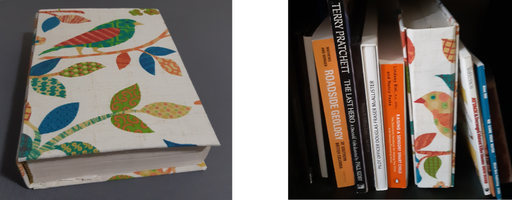
Once it was dry, I opened it up to inspect it. You can’t even see the black ribbon I thought I needed to hide the gap that was showing! Oh well!
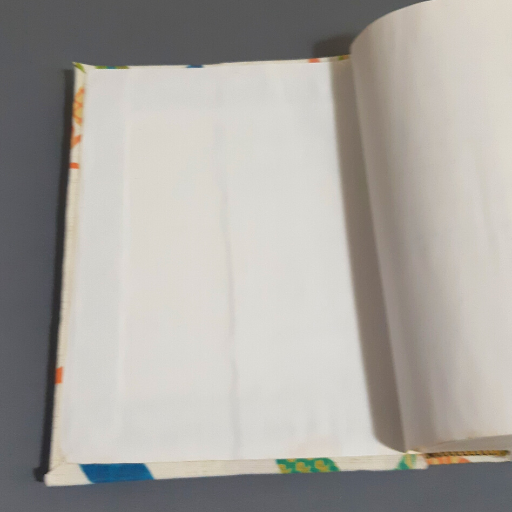
And here it is in all its glory!