Scrap-busting is a hobby in and of itself, I’m pretty sure. One that I definitely identify with. This project sprung from that eco-friendly, green spirit within me. You can read about the hobby of shoe collecting another time, and in another place. Cause shoe collecting just isn’t my style. You can find my other scrap-busting projects where I made a hand-stitched quilt and fabric coasters. But tooday, we are talking about a scrap-busting shoe-mat project.
While I predominantly sew garments, I’ve dabbled in quilting a bit over the years. I’ve made baby quilts for each of my boys, and a set of 12 quilted placemats for my mom. Recently, I made a quilted shoe mat out of scraps from old pants. Since I had never made anything with half square triangles before, I used the free pattern from Cedar Quilt Co. Its original purpose is for making placemats, but I just cut out enough fabric for about 3 or 4 placemats thinking that would be enough for a 2×3 foot mat.
1) Gathering my scrap fabric
Since B tends to buy his pants from the same store and wears the same 3 colors: gray, navy and tan, I had saved 6 pairs I could cut up for fabric. These pants already had enough holes in them to make them unworthy of my mending time, so why not repurpose that good leg fabric?
2) Cutting my fabric
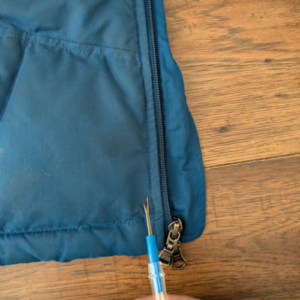
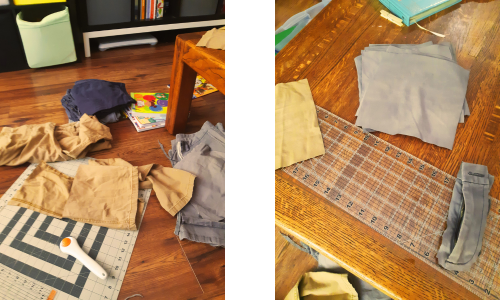
I measured the width at the front of the shin area to be 8 inches at its narrowest. So I cut out as many 8 x 8 inches that I could out of each pair of pants. The pictures below are of the piles of 8 x 8 squares that I cut. I kept the zipper (image on the right) for its potential in the future. Its potential can easily be anticipated by anyone like myself who knows scrap-busting is a hobby.
Then I followed the pattern by Cedar Quilt Co. to cut my squares into half square triangles.
3) Playing with my fabric triangles
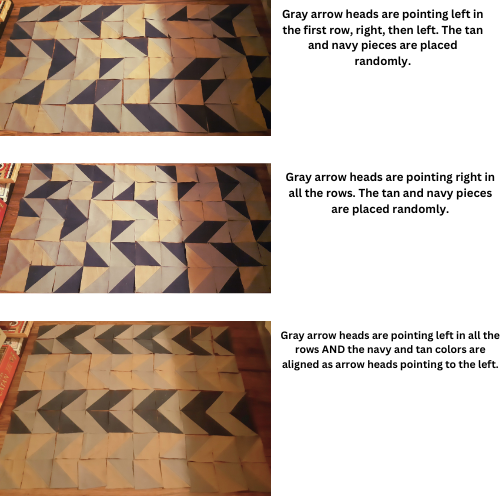
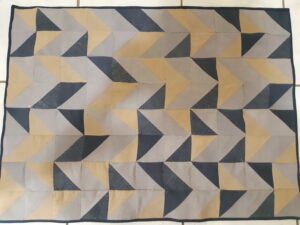
After which, I laid them all out to determine the pattern I wanted to create with them. The placemat pattern uses 4 colors and I had only 3 different colors, so I played with the layout and ended up choosing this “arrow” style. It was fun to rearrange the arrows to determine what my eye liked best.
4) Piecing the triangles and quilting it
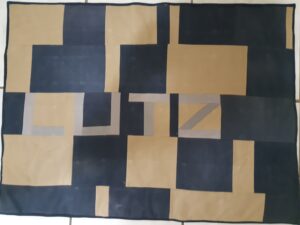
After piecing the quilt top, I dug through my stash and found some cheap polyester quilt batting for the middle. For the back, I attempted to do paper piecing to spell out my last name. I did this using the same pant scraps in various sizes.
Since I took a Free Motion Stitching course a couple years ago, I decided I wanted gain some experience points and do some free motion machine quilting for this project. I chose the “matchstick” style of quilting, and did narrow lines up and down every other triangle. I’m sure it’s easier to do free motion quilting on a whole cloth quilt rather than a pieced one as the seams underneath can prove a challenge when learning, but I tried. I broke many threads and needles. But I got ‘er done!
5) Finishing touches
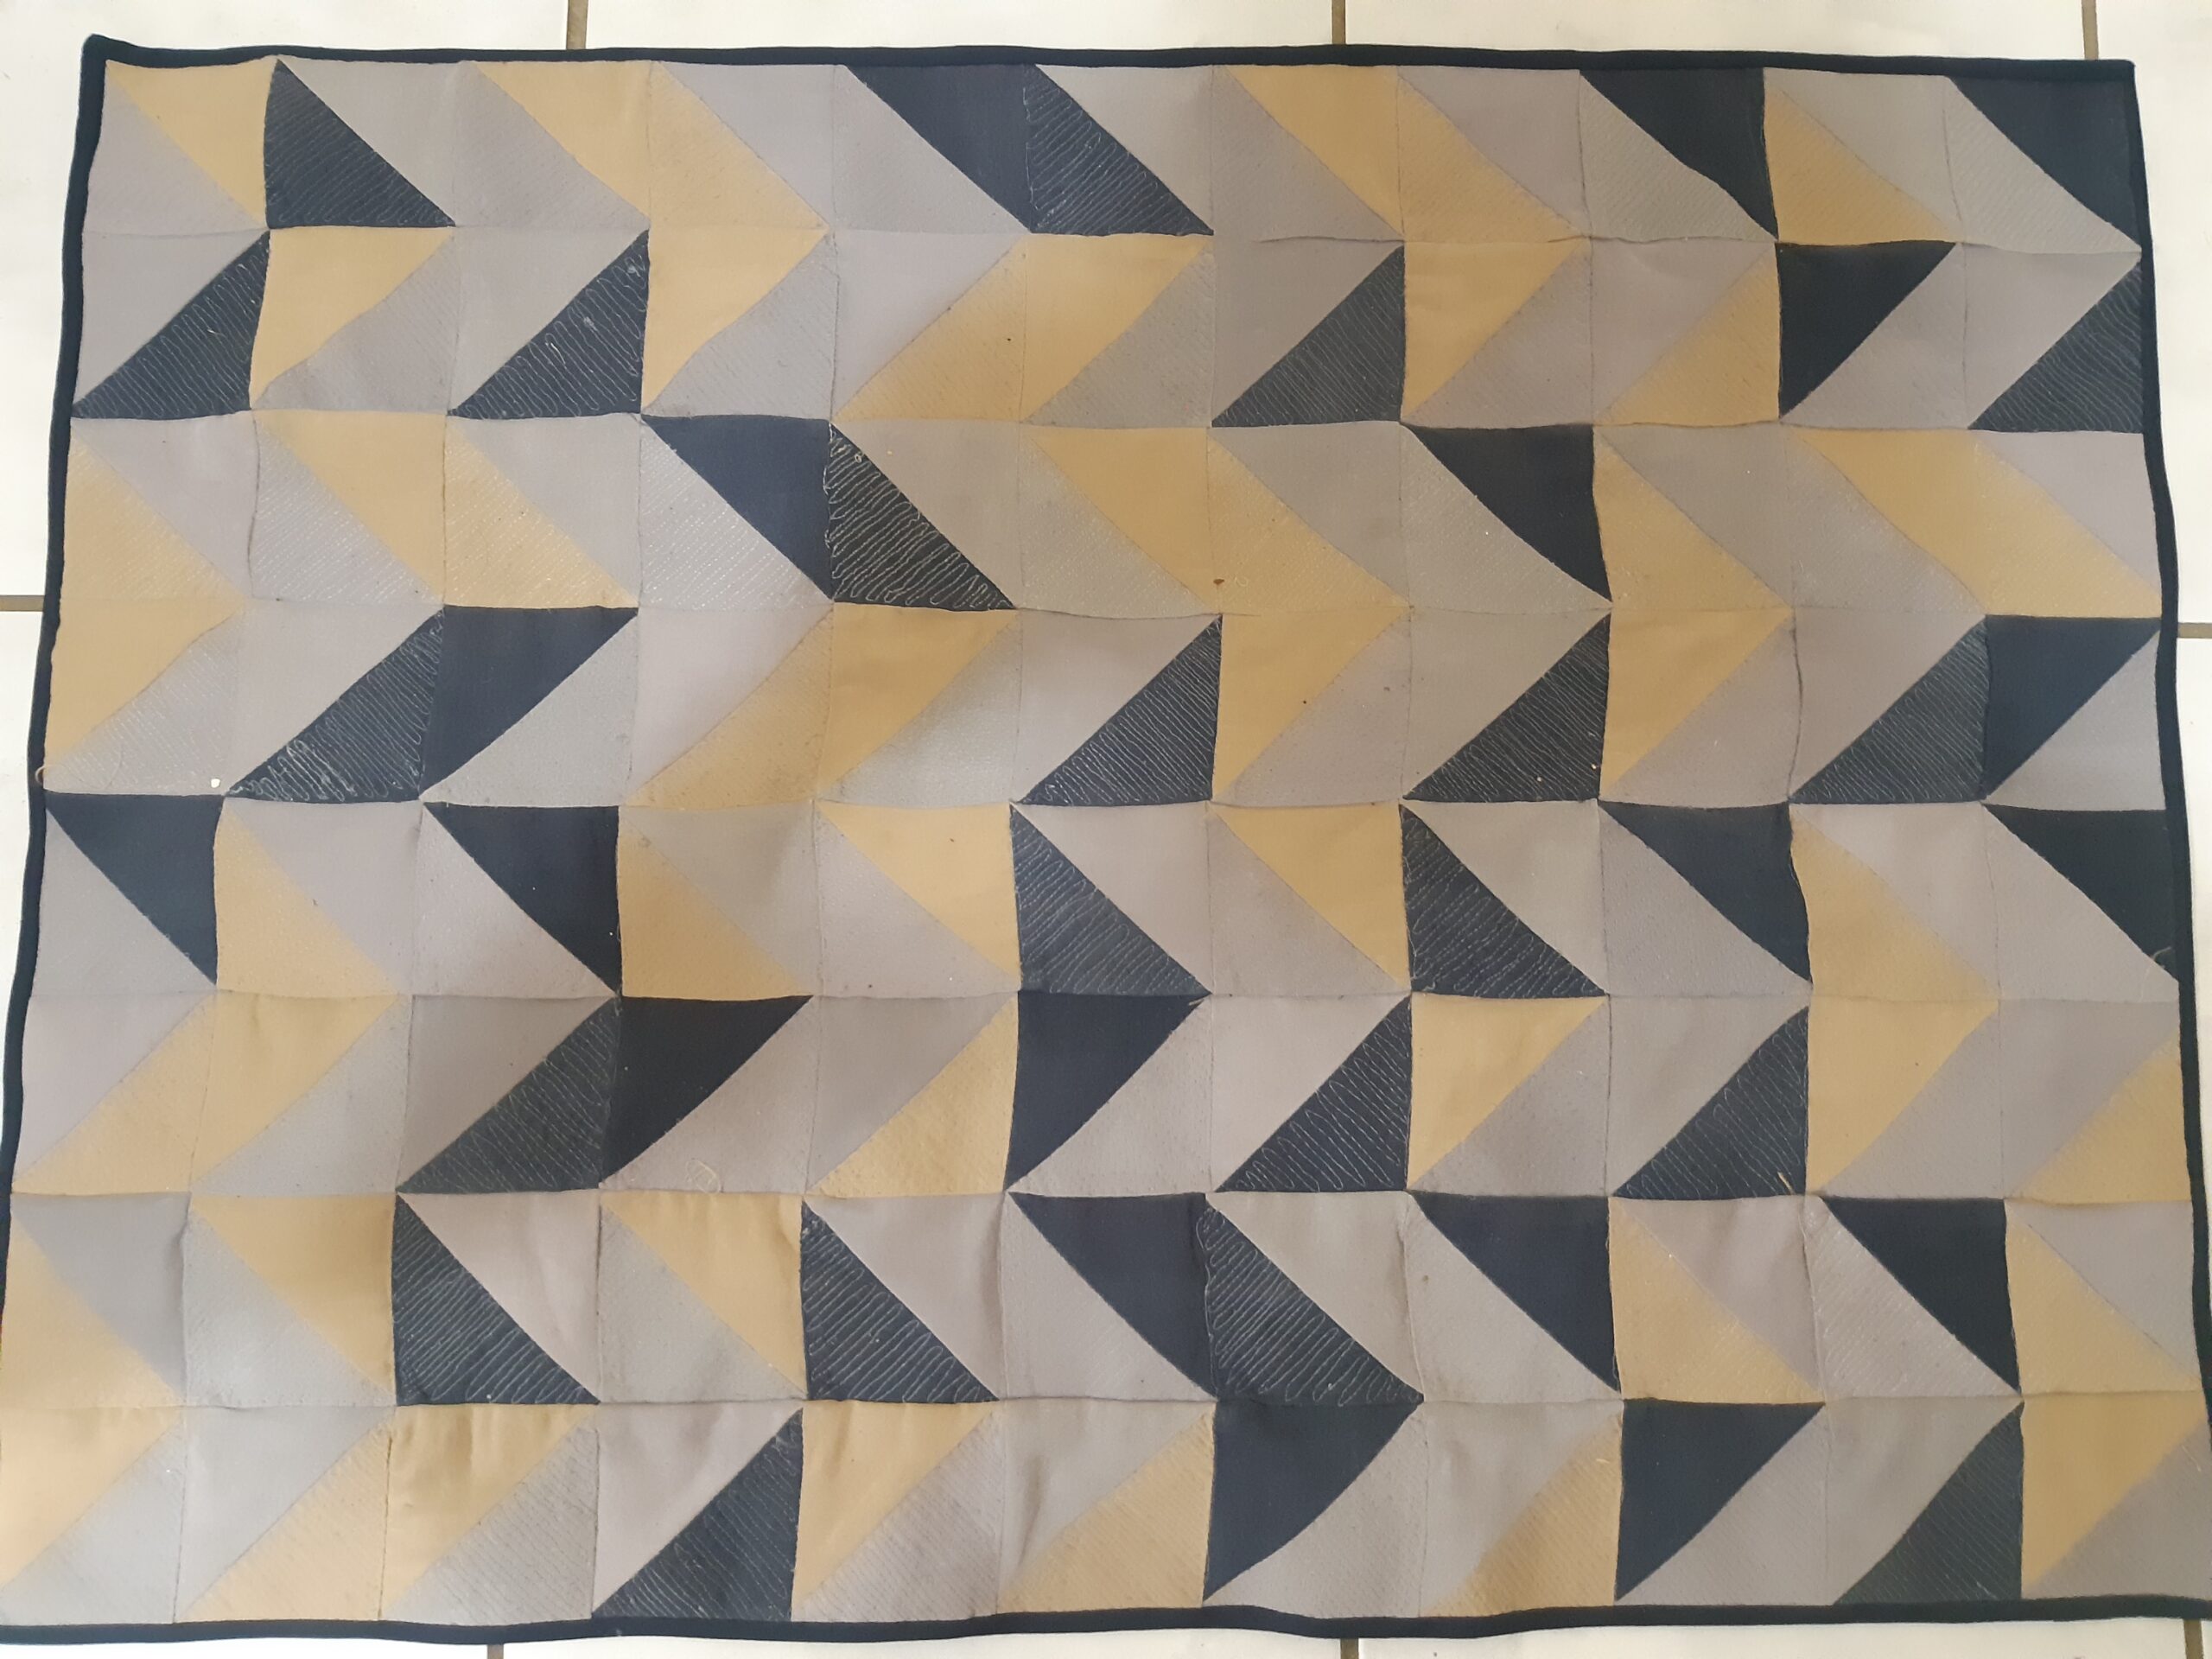
I already had this navy binding on hand, and it matches wonderfully, so I stitched that on. And Ta-Da! This mat sits under my shoe box by our front door. It gets dirty and that’s ok since I used scraps anyway 🙂 This is the side that I keep facing up.
I pieced my last name “LUTZ” in grey with the leftover chunks of fabric. And used this as my backing.
I hope this project inspires you to be creative with your most unusable pieces, to learn a new skill or get more practice at an old one.
Happy Sewing!

